Minecraft skin thumbnail maker
Pose your skin, choose a transparent background, and save a PNG you can drop straight into a YouTube thumbnail, a Discord avatar, a banner or a post.
Open the thumbnail makerPose a skin first
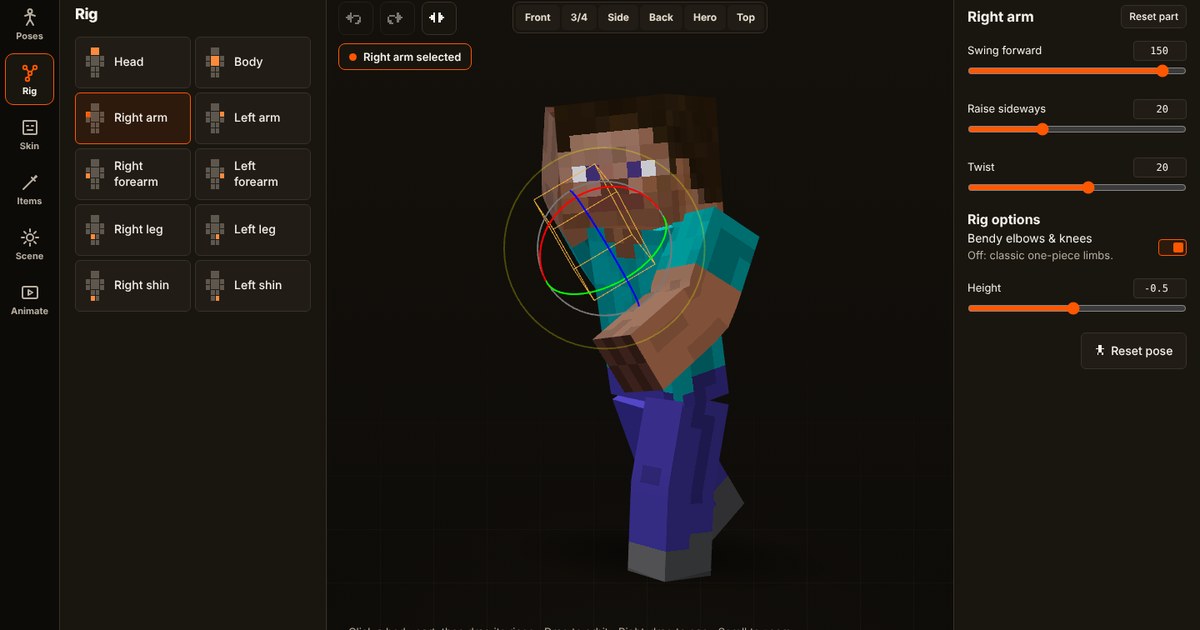
Make a thumbnail with a transparent background
- Open the editor and load your skin by upload or by username.
- Pick a pose that fits the thumbnail. Wave and victory suit a channel intro, thinking suits a tutorial or question.
- Open Export and choose a shape or size, then PNG as the format. The Scene tool only frames the character on screen. The output size is set in Export.
- Still in Export, set the background to transparent so the character sits on whatever image you place it on, then select Download. The PNG keeps its transparency.
- Place it in your editor of choice, such as Photopea, Canva, GIMP or Photoshop, on top of your background and text.
Where people use them
- YouTube thumbnails. A posed character with a transparent edge cuts out cleanly and stays readable at small sizes.
- Avatars and server icons. A close, centred pose works well in a small circle.
- Banners and headers. Capture a wide size with a transparent background and place the character to one side so there is room for text.
Getting a sharp result
- Capture at the largest size you will need. Scaling a small image up makes the pixels blur.
- Leave some empty space around the character if you plan to add a glow or outline later.
- Keep the pose simple. At thumbnail size, one clear gesture reads better than a complicated pose.
Related: how to pose a Minecraft skin and get a skin by username.
Try the tools
3D
Pose editor
47 poses, camera views, lighting, outlines and glow. Export a cutout or any size.
Start posing → 2DThumbnail maker
Add your character, bold text, arrows and badges, then download 1280×720.
Make a thumbnail → SkinsSkin by username
Type a Java Edition username and the skin loads straight into the editor.
How it works →